Red Cedar
More apocalypse, less angst
Post 3082: Welcome to another one

I don’t feel equipped for the start of 2018. The last quarter of 2017 went by at such a pace that I feel like I need a do-over on a bunch of work and union-related matters. We finished the year with a big party at Birdsong though, so I guess there is no turning back.
My goal this year is less of everything – except making things, meditation, writing, reading, and time with Brian.
Okay – maybe my goal is just to reduce the amount of things I take on at work – I think that’s more honest. I need to stop getting flattered into taking on more committees, more workshops, more projects. I have enough work and travel on my plate between my actual job and my role as local president – the addition of creating and giving mindfulness workshops at every other staff meeting last year was a bit of an overstretch (to say the least about that!). I won’t be doing any of that in the near future.
What I do have coming up in the near term, guaranteed – are two or three work projects with wide-reaching significance in my field, a trip away with my lady friends, and a week in Vancouver for work, capped by a Coast Salish weaving workshop at the Museum of Anthropology. It’s a new year with a bang even though I’m still recovering from the last one. The other thing I’ve got in front of me is a big stack of books – I’ve been on a library ordering kick again lately – and it’s cold outside! One of my commitments for this year is definitely less time randomly scrolling around on the Internet, and more time reading good books, and writing a bit more too.
To that end I’ve posted a new page under “Read” up top – “What I’ve read lately” which has a list of what I read in 2017. I’ve also updated my 1001 books list, as I have decided to start whittling that down a bit too (after years of neglect – I just can’t let it die!).
There will be more here and on instagram from me in 2018 – I’ve been feeling the need to connect a bit more again, after the period of head down and straight through of the last few months – though I make no promises as to the quality of my posting.
Mostly, I just want to come back to myself. I’ve been so exhausted for so long that I’ve wandered away from my roots and refuge. This recent break has been a bit of an opportunity to see that for what it is. So here I am with a heart of vows and another moment in front of me!
Post 3081: A printing on fabric tutorial
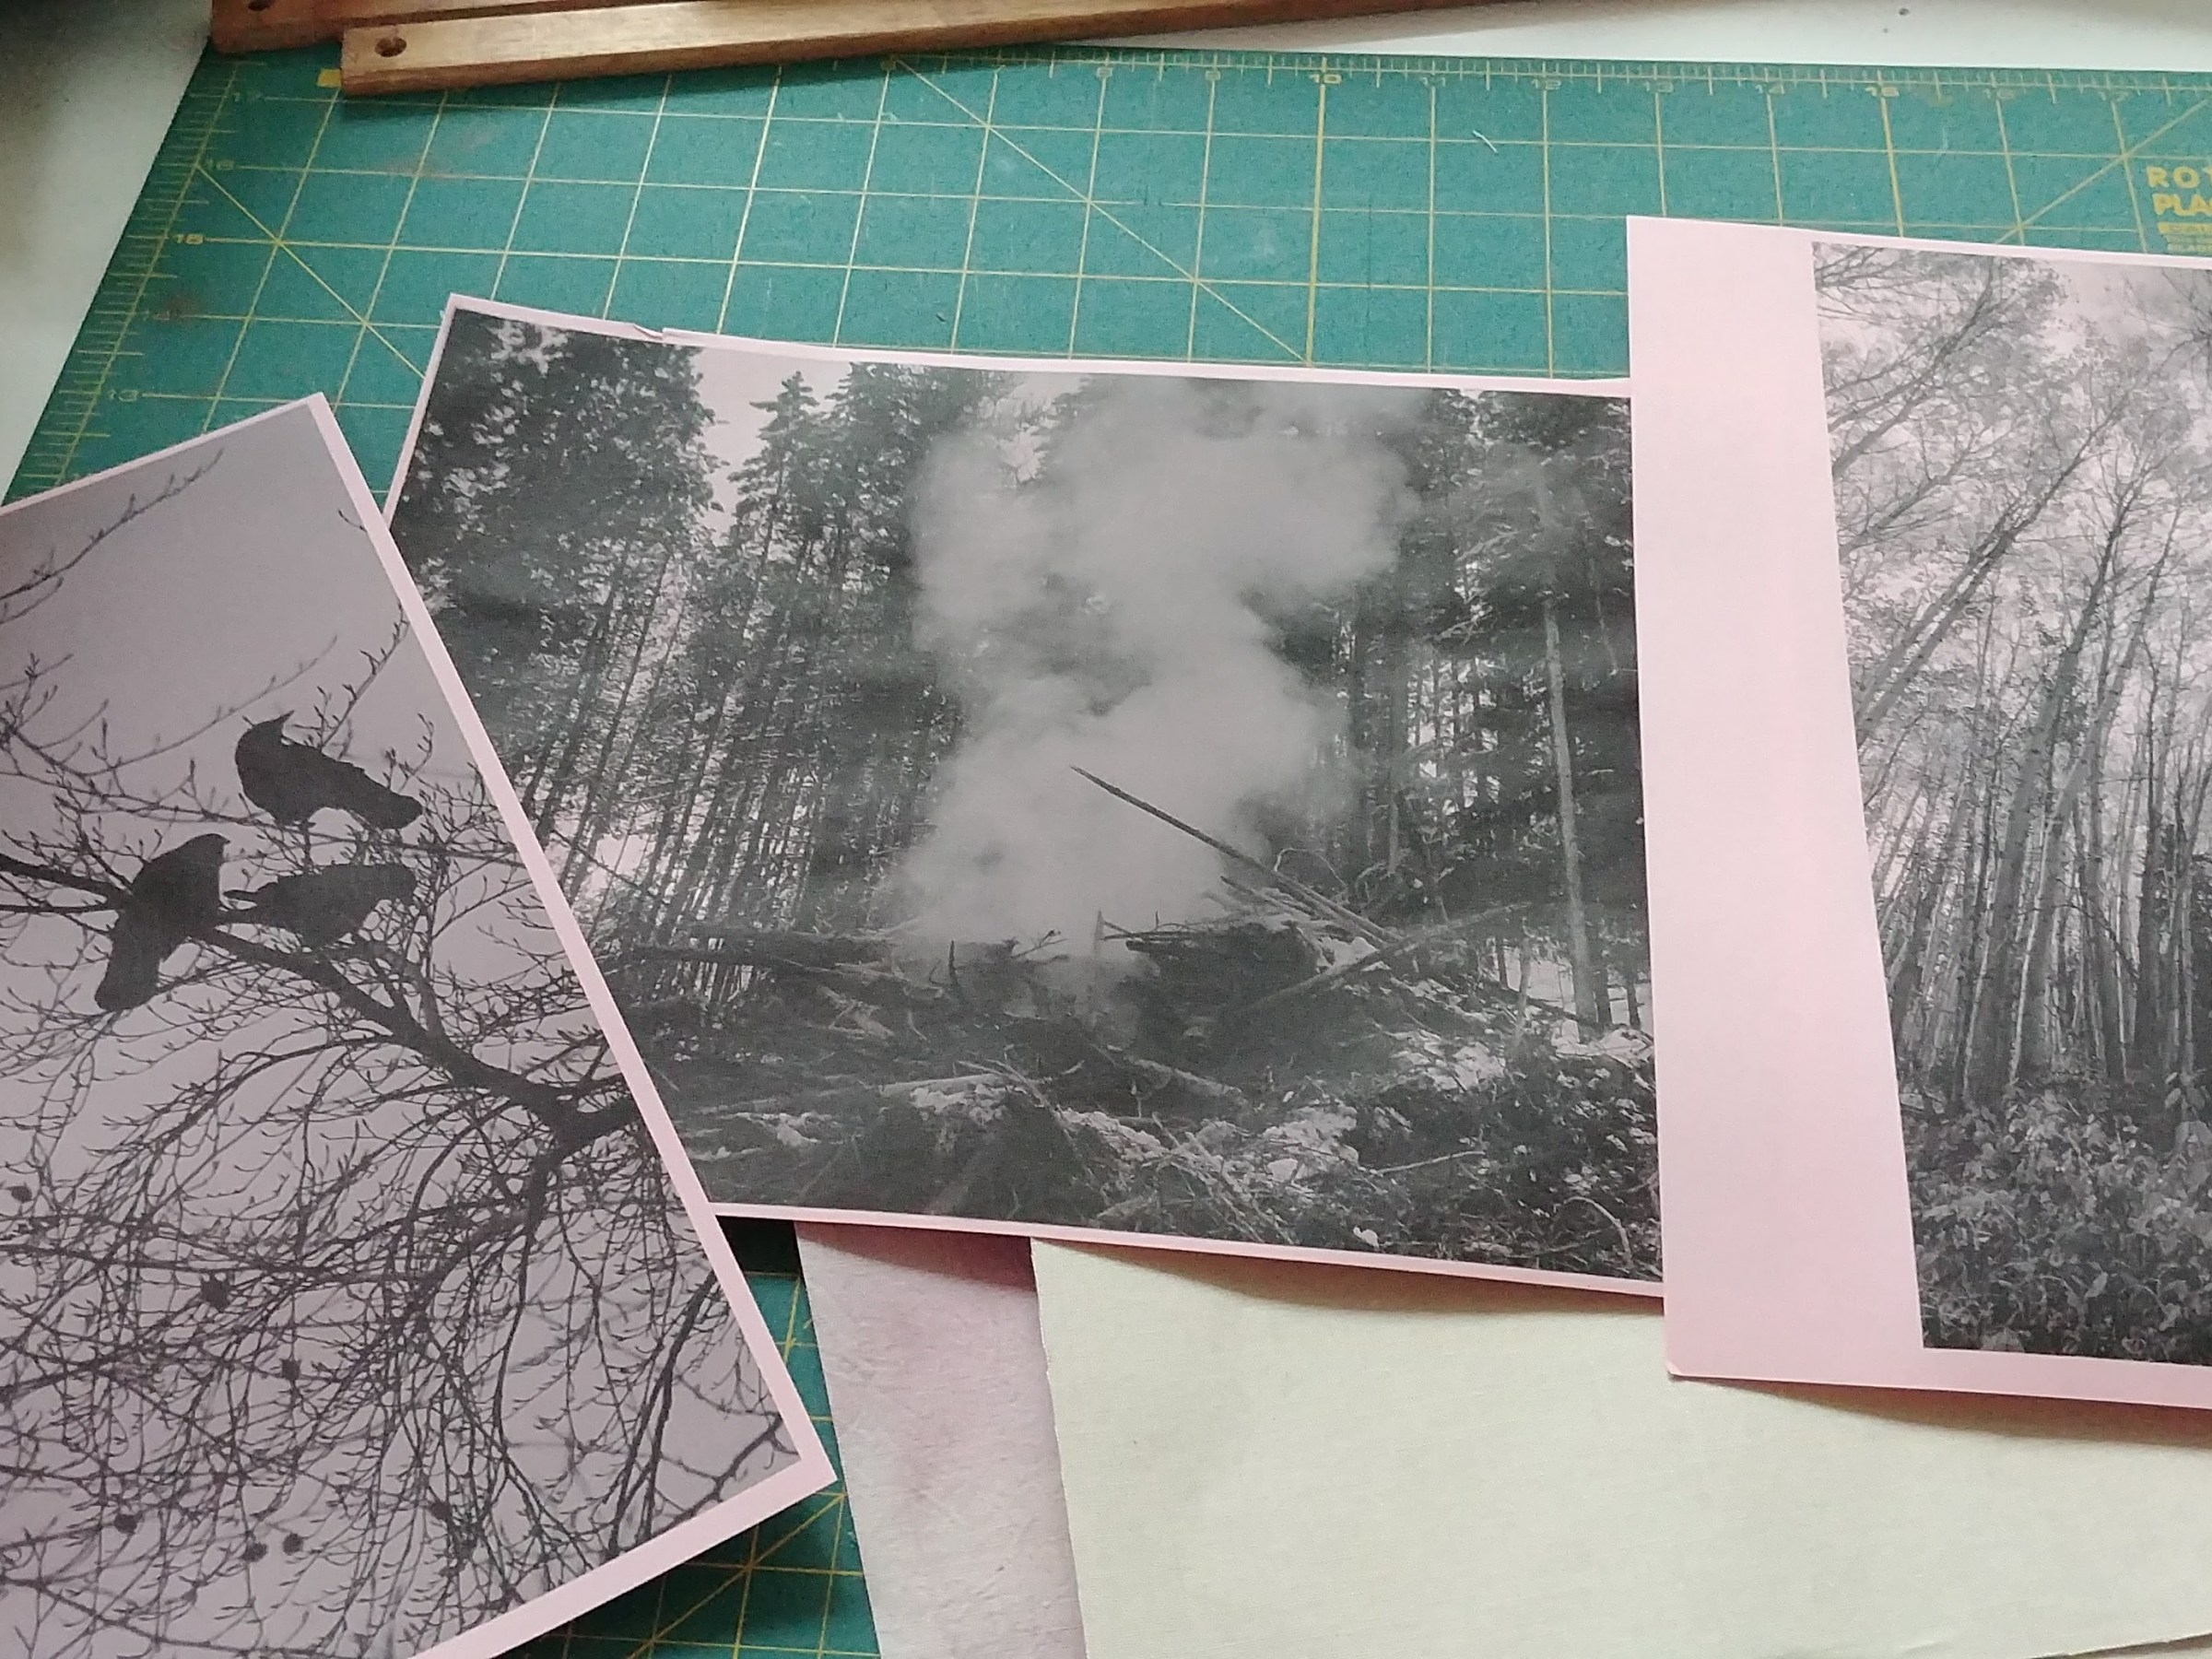
Often when I post projects on instagram or facebook that utilize my photos on fabric – I get asked how I print on fabric. There are half a dozen ways to do this – but this method has always worked for me and I haven’t seen it written up elsewhere – though it’s very similar to the freezer paper method. I don’t love the idea of sending waxed paper through my printer and I find this to be a more stable technique. Likewise, you can purchase printable fabric with stabilizers or backing paper – but that really limits your choice in fabric.
What you will need:
- an inkjet printer
- Avery shipping label sheets #8165 – 8.5 x 11
- Plain cotton fabric you wish to print on
- A digital image that you want to print
First off – the Avery labels are the largest size shipping labels – one sheet is one label:

Take your shipping labels and fabric over to the ironing board and iron your fabric flat. Once you have done that, unpeel one of the labels and put it, sticky side down on your fabric. Make sure that it is really stuck onto the fabric, the corners in particular. I usually finish off a piece by flipping it over and ironing it lightly (and on the dry/no steam setting) on the fabric side as well.

Next, trim your fabric from around the edges so that your sheet is a cleanly-trimmed 8.5 x 11 sheet.

Now what you have is fabric with a stiff paper backing, which your inkjet printer will treat like a heavy stock paper. To print on it, put it fabric side down in the printer and then print your image as normal. You can put more than one sheet at a time in the feeder, I usually don’t – because I don’t want to risk fabric/sticker jams which can happen.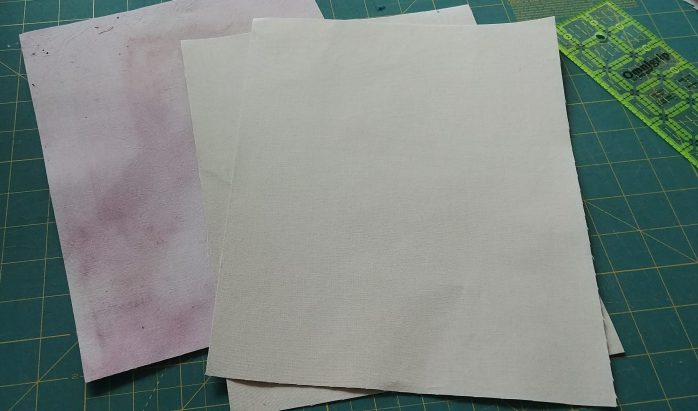
I recommend, before printing – that you make some test prints on paper so that you can see what your image is going to look like on the fabric. If you are using a plain cotton fabric, your image will print identically to what you see on the blank paper.
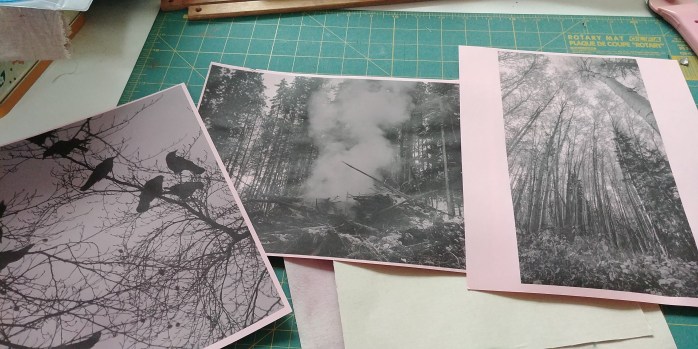
Once your fabric is printed, peel off the sticker back:

Iron your fabric on the dry setting again – several times to get it nice and hot. This will heat-set the ink which allows the fabric to be washed without losing the print.
You can print in colour just the same – note that the ink comes out a bit less crisp on fabric so you might want to saturate your images more in the prepping process.
And yes, it is that simple.
(Note – the fabric I used for these samples was dyed with berries which is why it is pink – that has nothing to do with the printing process.)
Post #3080: The turn of the season by night

Autumn moonlight
–a worm digs silently
into the chestnut
Basho
Post #3079: Distinctive trees of fall.
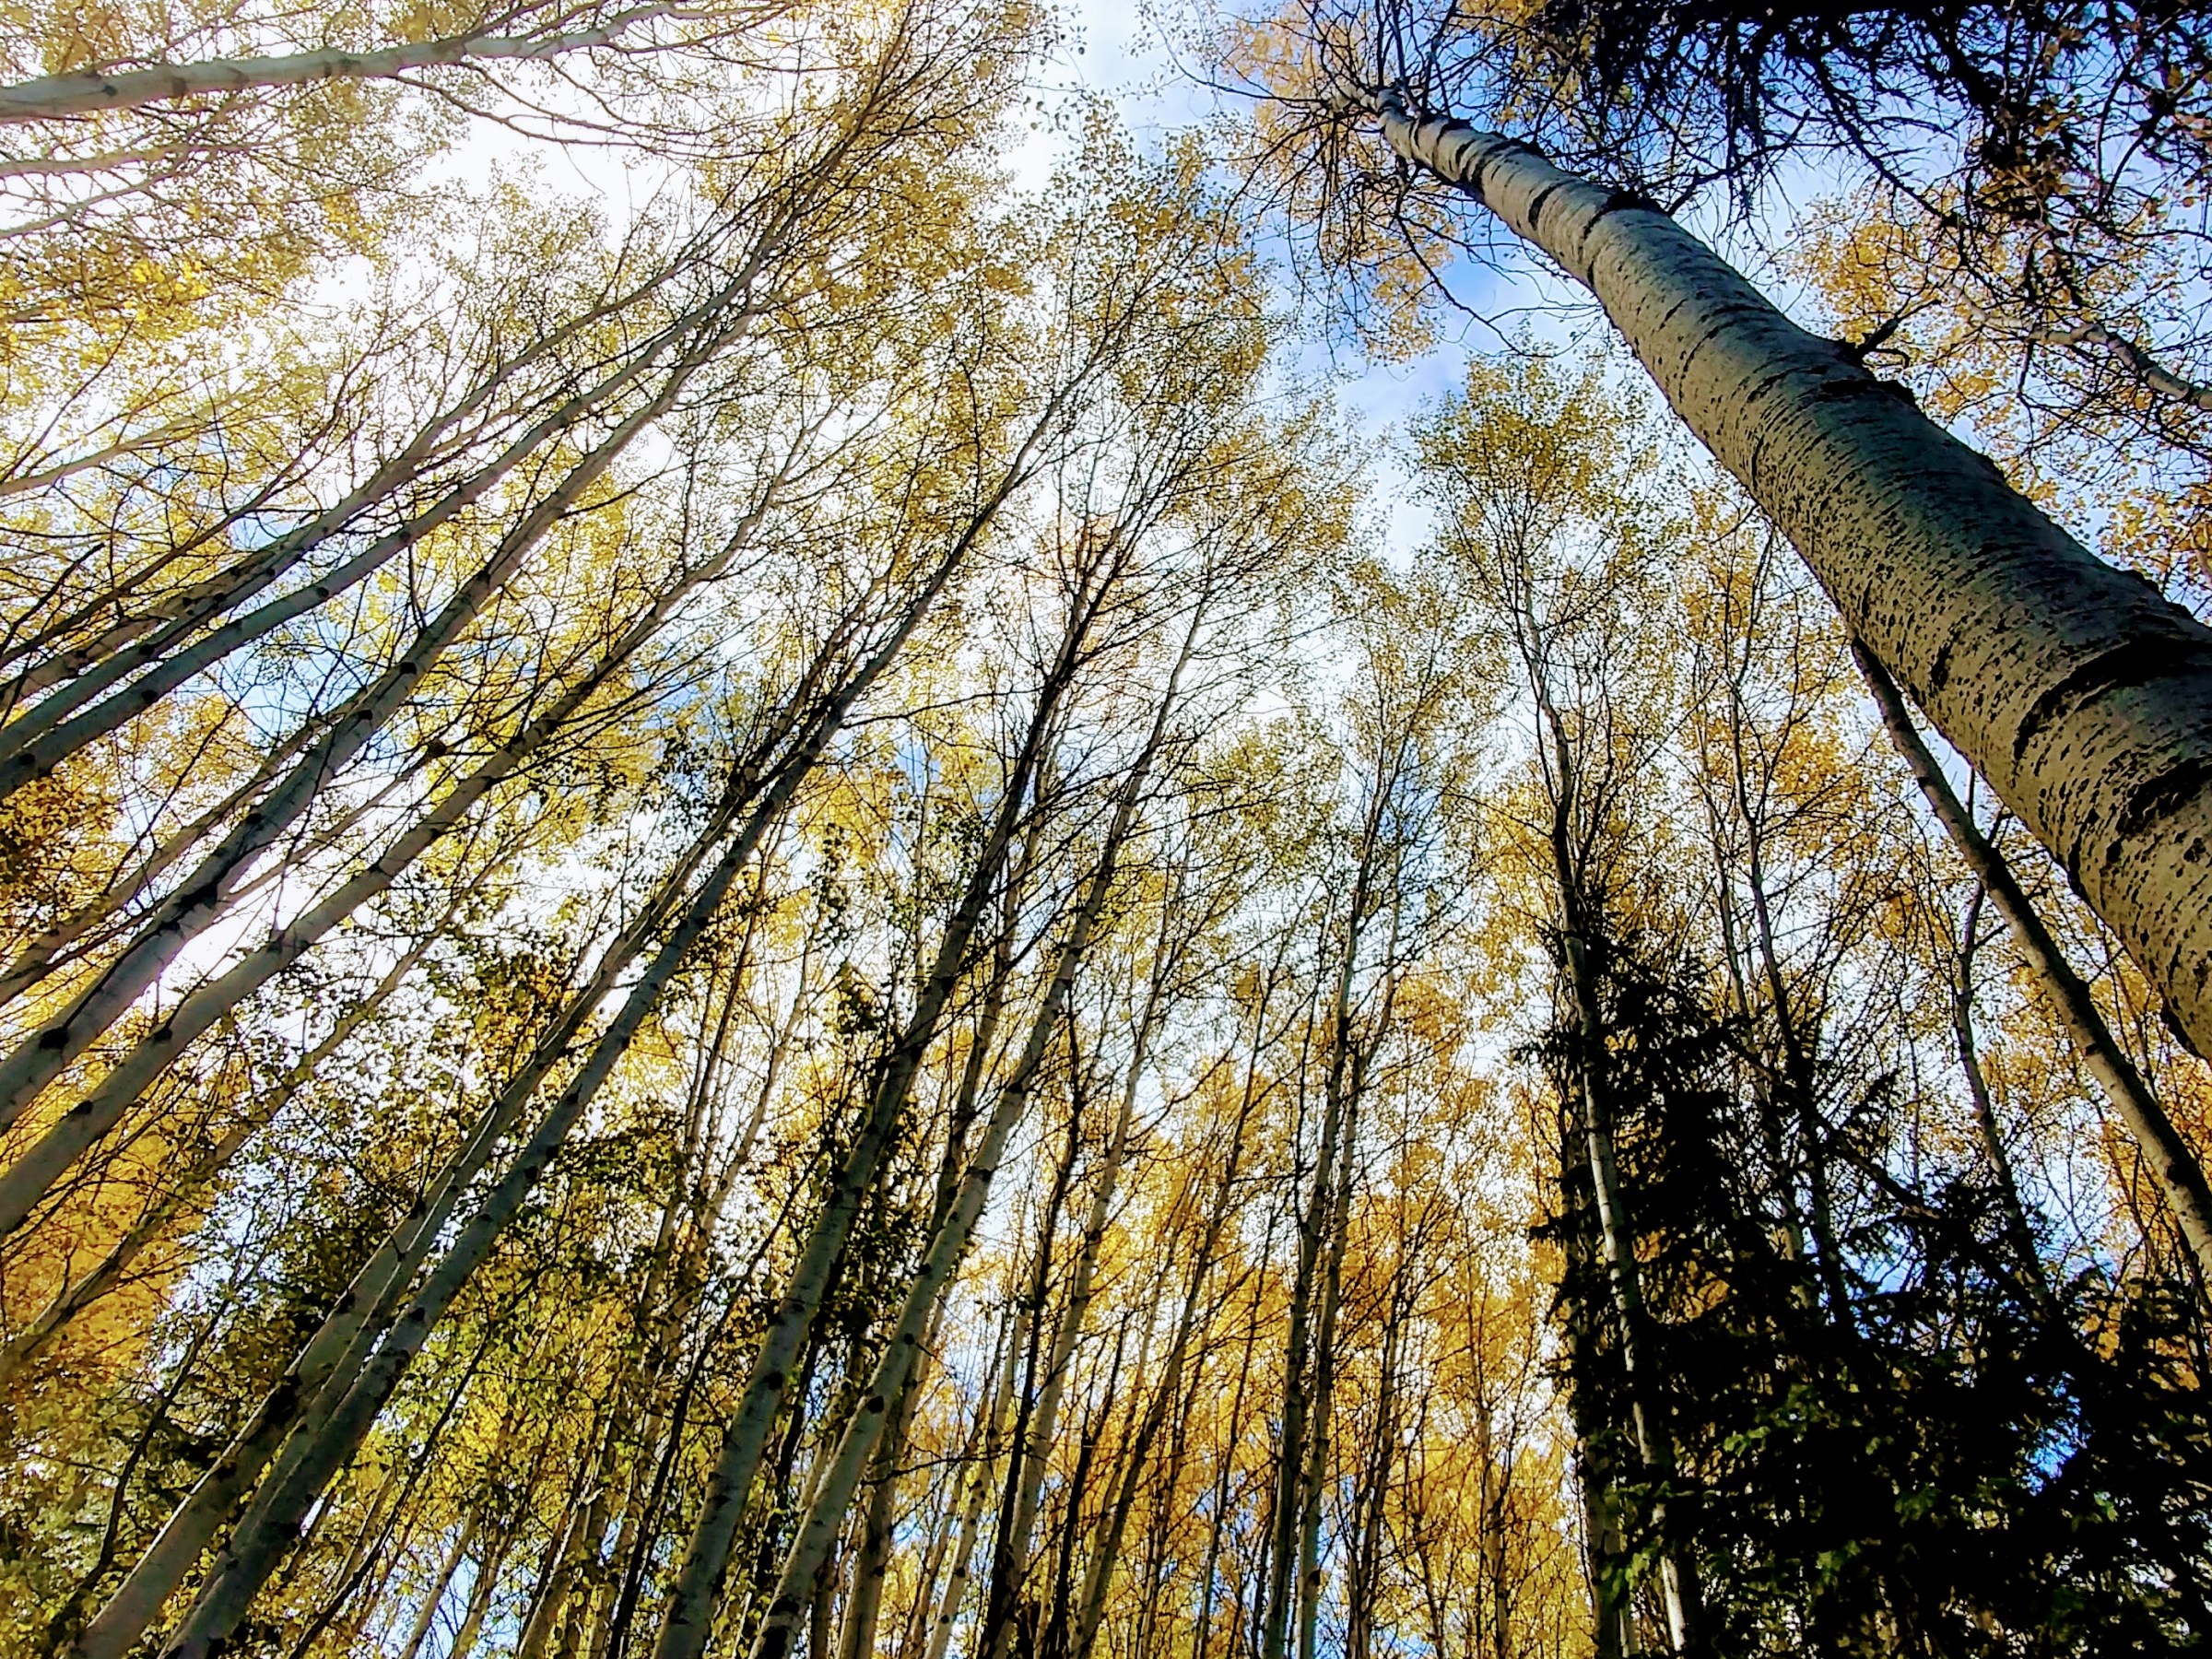
Trembling aspen taken near Link Lake in October, 2017. Each of these “trees” is part of a single root mass – comprising a single organism that could take up as many as 100 acres. Each shoot may only live for a short time (50-150 years), but the mass as a whole may live for 80,000 years or more. The sound of the wind in these trees is what makes them most notable – a fluttering of thousands of tiny wings against one another. I often find myself on my knees in the forest loam – the best posture for both awe and photography.
Post #3078: More on learning to weave

I anticipate a lot of weaving in my near future. Not only that, I anticipate a lot more methodical approaches, experiments and fine-tuning of my skills – because I think that I might actually be heading towards a solid base of knowledge at this point. That is after a year of having a loom in operation in my home – the J-Made that I set up last November.
I’ve just taken the first weave off Middle-C and am pleased with the results:

I didn’t really do much math on this project, and so it turned out to be a bit short for a wrap – I mean – it works, but it’s not as long as I had hoped. I have another ball of the striped yarn in reds and oranges and enough charcoal weft to do this project again and so I think I’m going to make the next version narrower and wider to be more of a scarf than a wrap. That will be the next project on Middle-C before I put on ten yards of warp for tea towels.
Using my newfound knowledge of back-to-front warping which I employed for the first time in this most recent project – I am in the process of warping Big-A for twill tea towels in sage green and white. To facilitate the pre-sleying of the reed (so I don’t have to use a raddle) – I made two sets of reed holders on the weekend:
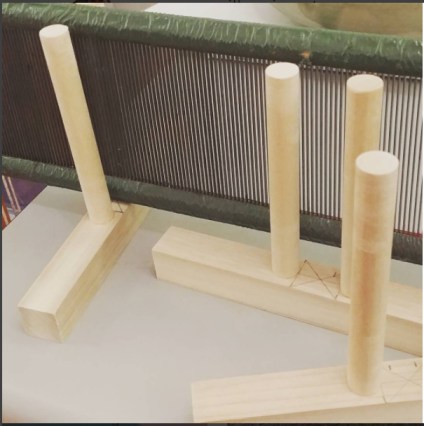
Obviously a very simple thing to make – but a set of these retail for $30 US! I made two sets for $8 Cdn and about 30 minutes of work cutting the pieces and gluing them to the correct width. I am pretty excited about these because propping my reed up between two sets of coffee mugs last time was not optimal – and this solves a lot of problems.
I’m also moving to a live-weight tension braking system on Big-A because the brake-band that the former owners jerry-rigged did not hold during my first weave and I ended up hanging a weighted milk jug off the back of my loom to keep it going. Live weight tension means using weights hung off the back beam to create the friction needed to stop the warp from moving forward. My dad gave me two 4-pound sash weights during a weekend visit so I’ll be tying those on shortly and will take pictures when I do. Big-A is all around a great loom, but the brake problem really needs to be solved.
My goal this week is to get warps on the two main looms and weave off the tea towels that are on Little-J – which are within inches of being done. As I said – lots of weaving in the future – I look forward to sharing photos of all three looms set up at the same time!


 Red Cedar